Publish your first Web Application in AWS
Deploy your first static web application in AWS Cloud
Here we will be learning how to deploy web applications in “AWS”
Get Started
This is Part 01/2
Intro of AWS
AWS stands for Amazon Web Services. Amazon web service is an online platform that provides scalable and cost-effective cloud computing solutions.
AWS is a broadly adopted cloud platform that offers several on-demand operations like compute power, database storage, content delivery, etc., to help corporates scale and grow.
Create a free tier account in AWS. If you already have an account login into your account.
After you Logged in you will see like this:
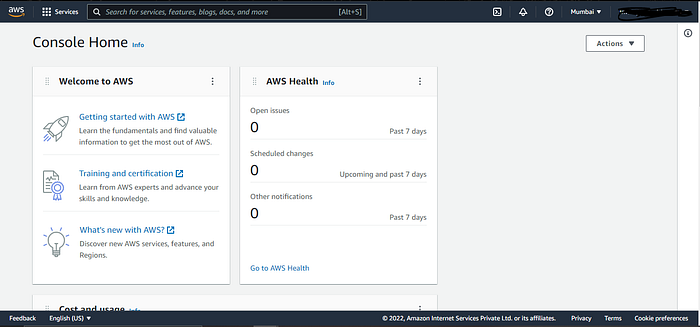
Let's Start creating an s3 bucket where are storing our HTML file
Search for S3 in the search bar and click on S3
S3:
Amazon Simple Storage Service (Amazon S3) is an object storage service offering industry-leading scalability, data availability, security, and performance
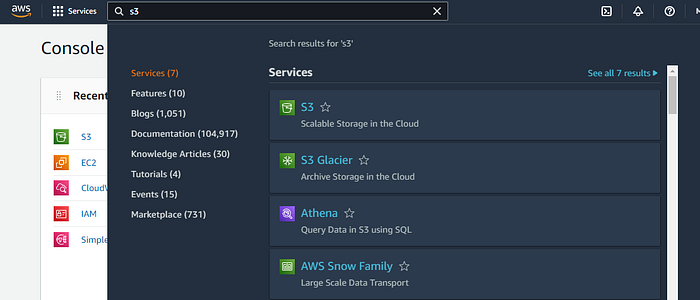
Now click on ‘create bucket’

It will ask you to enter the Bucket name and after entering the name, go to the bottom and click on ‘create bucket’
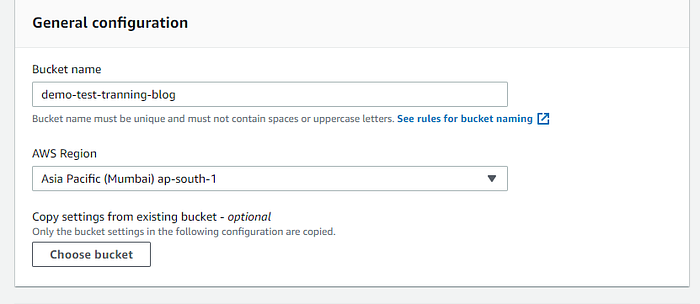
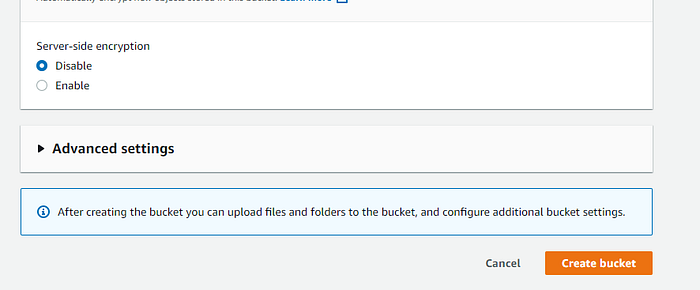
It will create a bucket and redirect to the s3 home page where you can see your bucket.
Now click on the bucket which you have created and click on upload (which is used to upload any files or folders).
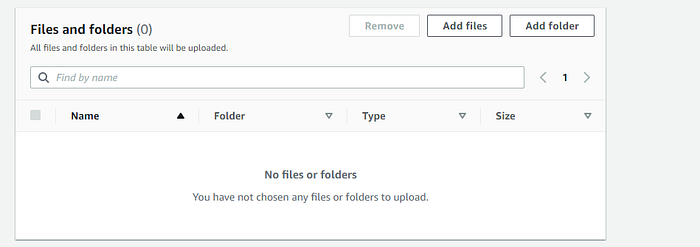
Click on Add files and upload the index.html file with a sample data
Sample index.html
After uploading to the bottom click on upload and it will upload in the s3 bucket.
Now when you go to your bucket you will see the index.html file in it.
You just created your S3 bucket in AWS cloud.
Now go to AWS main page…
Let’s start creating a Role
Search for IAM in the search bar and click on IAM
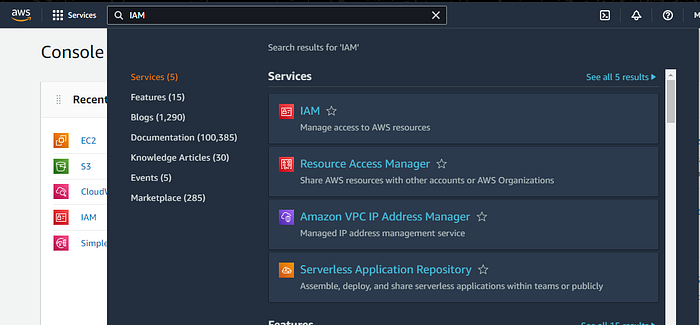
Now go to Roles and create a New Role:
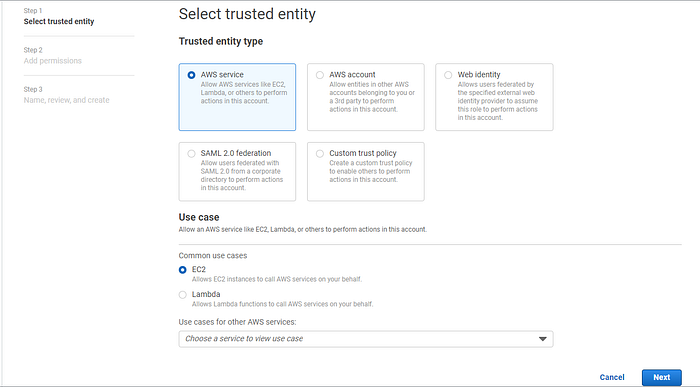
Click on next and Search S3 and click on
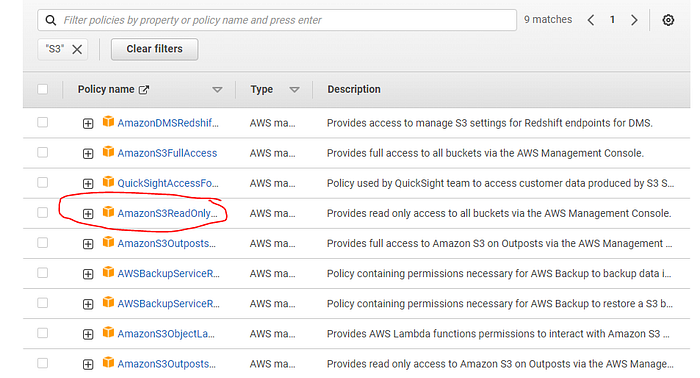
and click on next. It will ask you to enter the Name for the Role and at the bottom click on create role.
It's Done you just created a Role that has read-only permission on S3 Bucket.
Let's start creating a Load Balancer, Auto Scaling and Instances
Search for EC2 in the search bar
EC2:
Amazon Elastic Compute Cloud (Amazon EC2) provides scalable computing capacity in the Amazon Web Services (AWS) Cloud.
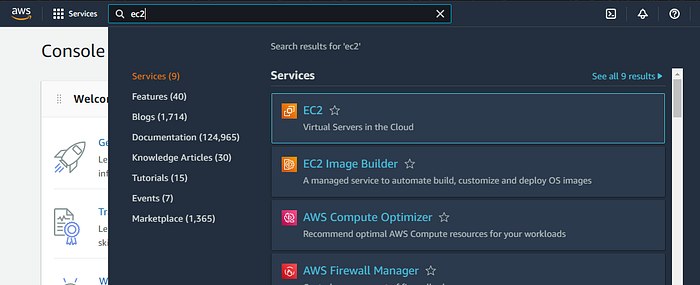
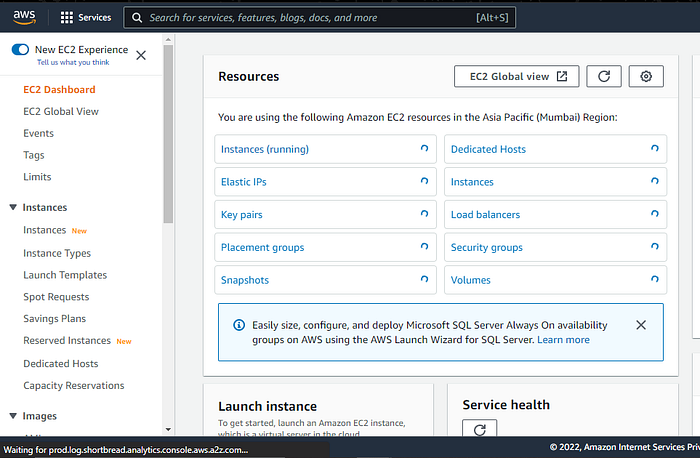
Now click on EC2 and you will see like:
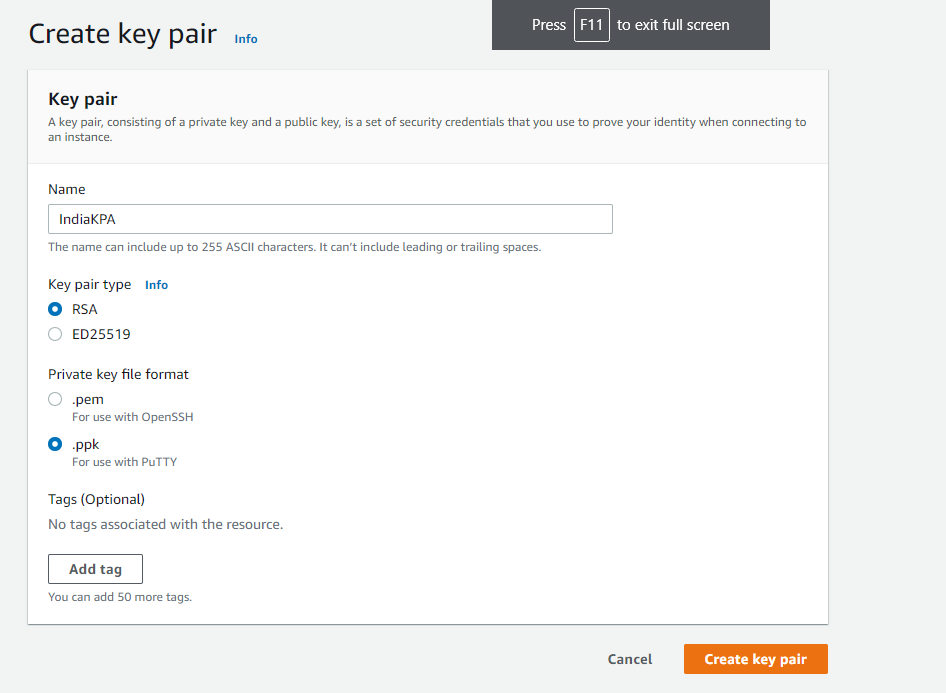
Now Click on Create Key Pair and enter the name for keypair and click “create key pair”

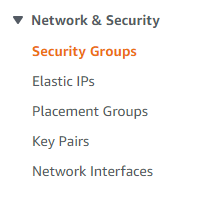
Click on Security Group and click on create security group:

Now under Outbound Rules click on Add Rule and search for HTTP and under Destination add Anywhere IPv4 and Anywhere IPv6
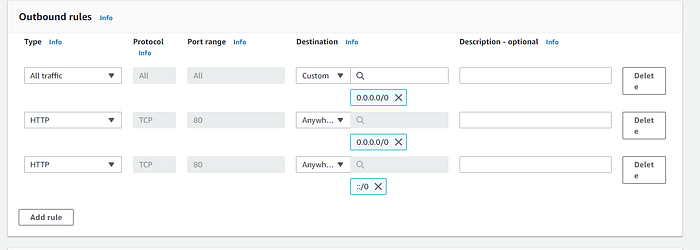
At the Bottom Click on Create Security Group.
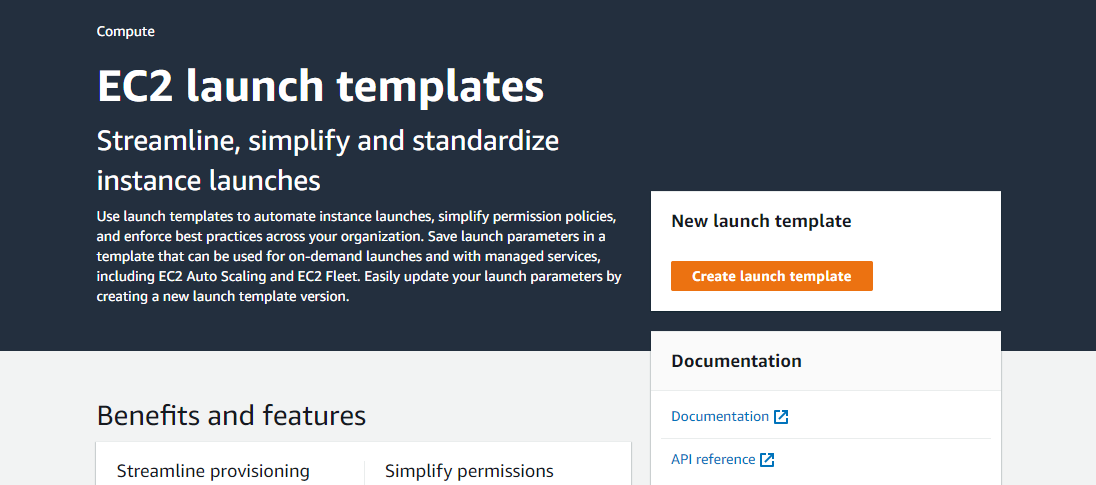
Click on Launch Template and create a launch template
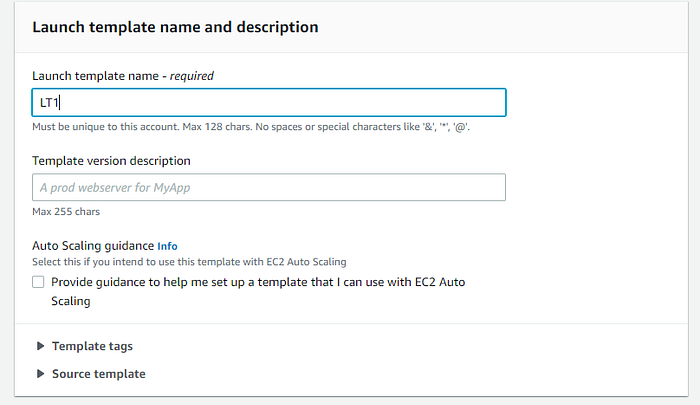
Now enter your Template Name
Under “Application and OS Images (Amazon machine Image)” Search for “Amazon Linux 2 Kernel 5.10 AMI 2.0.20220316.0 x86_64 HVM gp2”
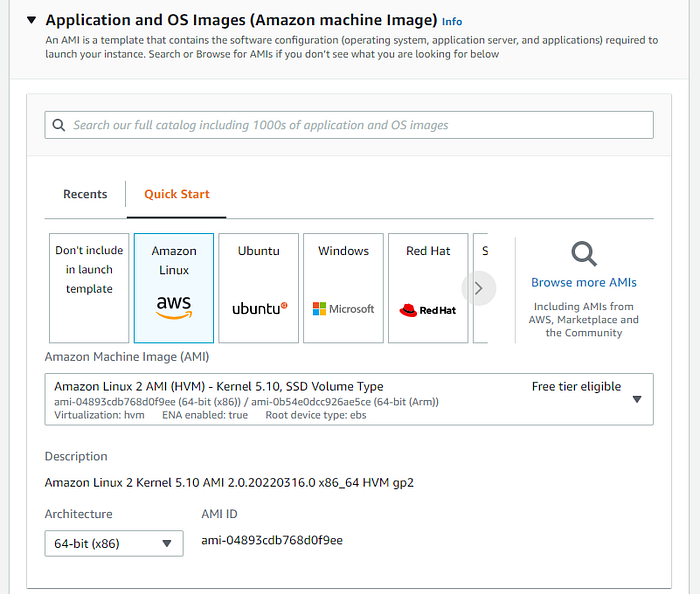
Now under Instance Type Search for t2.micro

Now under Key pair (login) select the key pair under the dropdown.

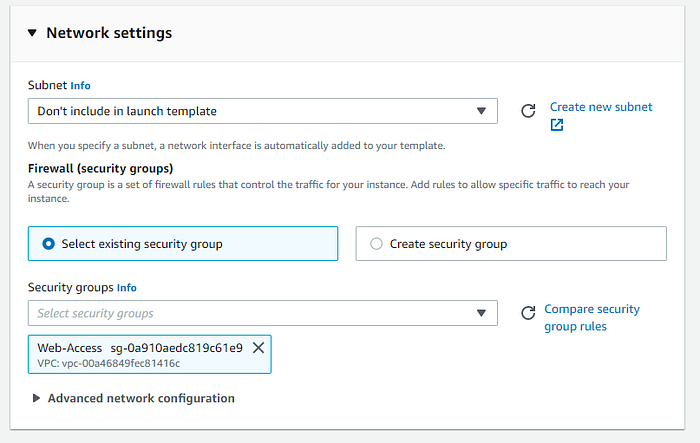
Under Network Settings, select web-access
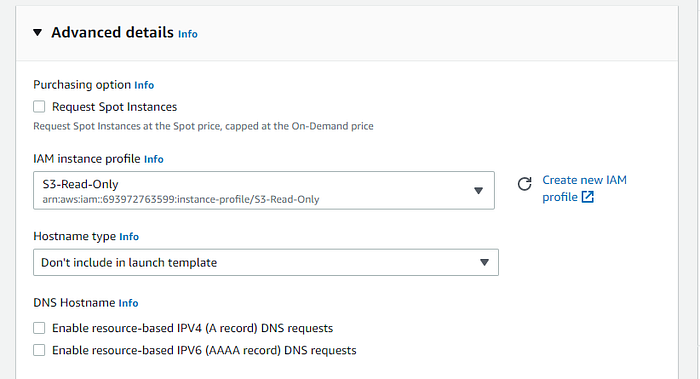
Now under Advanced Details, under IAM instance profile select your S3 Read-only rule.
Now at the bottom under “User data” add this:
#!/bin/bash
yum update -y
yum install httpd -y
systemctl start httpd
systemctl enable httpd
cd /var/www/html
aws s3 cp s3://demo-test-tranning-blog/index.html ./
sed index.html
and Click on Create Launch Template and click on view template you will see this:

Thanks for Reading the Article.
Do follow me to see Part 2 of this blog.


